
Every homeowner eventually faces the same question when staring at a tired yard or an aging exterior feature: do I grab a toolbelt or pick up the phone? Some outdoor projects are genuinely beginner-friendly and can save real money, while others involve structural safety, code compliance, or specialized equipment that make professional help the smarter investment. Knowing which category your project falls into before you start can save you from costly redos, injuries, or permit headaches. This guide breaks down the most common outdoor upgrades, separating the realistic weekend projects from the ones best left to trained hands.
Painting and Staining Fences and Small Structures
Refreshing a fence, shed, or mailbox post with paint or stain is one of the most approachable outdoor projects for a beginner. It requires minimal tools, a reasonable weekend timeline, and forgives small mistakes since touch-ups are easy. The biggest factors for success are weather timing, proper surface cleaning, and choosing a stain rated for outdoor exposure.
Where things get more complicated is when the fence itself needs structural work rather than cosmetic attention. Leaning posts, rotted boards, or a fence that no longer sits square on the property line often signal it is time to consider a full fence installation rather than another round of touch-ups. A professional crew can also advise on local setback rules and frost-line post depth that a DIY project might overlook.
- Clean and let the wood dry fully before applying any stain or sealant
- Choose a day with mild temperatures and no rain in the forecast for 24 hours
- Use a brush for detail work and a sprayer for large flat sections
- Reapply stain every two to three years depending on sun exposure
Planting Flower Beds and Seasonal Landscaping
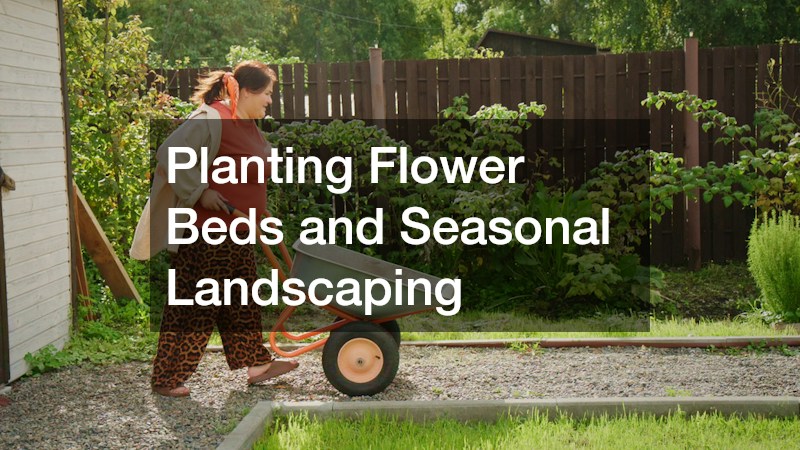
Swapping out annuals, edging garden beds, or adding mulch are satisfying projects that reward even first-time gardeners with visible results. These tasks require only basic tools and a little research into what thrives in your climate zone. Mistakes here are rarely expensive, which makes this a low-risk way to build confidence in outdoor work.
Where homeowners often get overwhelmed is with ongoing lawn health, including fertilization schedules, weed control, and seasonal aeration. Many people find that hiring lawn care services makes more sense than DIY once a yard has persistent issues like bare patches, grub damage, or thatch buildup. A trained technician can diagnose soil problems that are easy to misread as simple watering issues.
- Test soil pH before adding fertilizer so you know what nutrients are actually missing
- Mulch beds in spring to suppress weeds and retain moisture
- Rotate annual flowers seasonally for continuous color
- Watch for signs of grub damage such as spongy, loose turf
Pressure Washing Driveways and Walkways
Pressure washing concrete or paver surfaces is a satisfying DIY task that most homeowners can handle with a rented or consumer-grade machine. It removes algae, oil stains, and general grime without much risk, as long as you use the right nozzle and keep a safe distance from the surface. This project pays off visually almost immediately and requires no special licensing.
However, pressure washing a driveway with cracking, pooling water, or crumbling edges will not fix the underlying problem. If the surface itself is failing, the long-term solution is usually asphalt paving done by a company with the right compaction equipment and material knowledge. Attempting to patch large sections of a driveway yourself often leads to uneven results that fail again within a year or two.
- Use a fan-tip nozzle to avoid gouging softer concrete or pavers
- Pre-treat oil stains with a degreaser before washing
- Keep the wand moving to prevent streaking
- Inspect for cracks after washing, since water exposes hidden damage
Building a Simple Raised Garden Bed
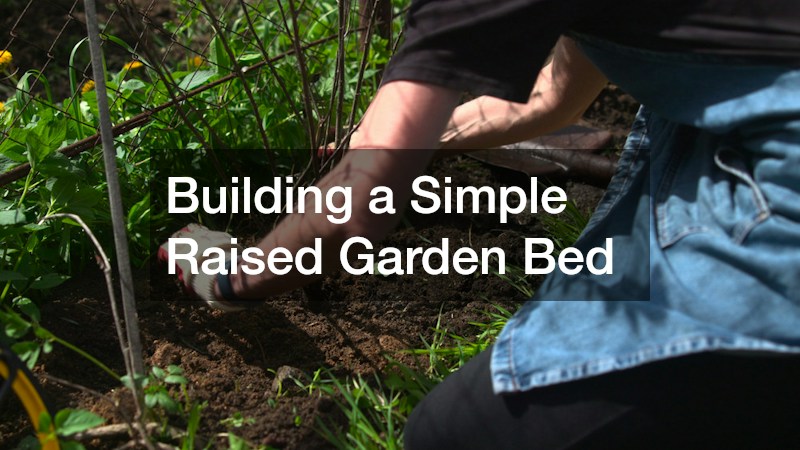
Constructing a raised garden bed from kits or basic lumber is one of the more approachable carpentry projects for someone building confidence with tools. It involves straightforward measurements, simple joints, and forgiving tolerances since a slightly uneven bed still functions fine. Most people can complete one in an afternoon with a drill, screws, and rot-resistant wood.
This project is a good gateway to understanding your own skill ceiling before attempting anything load-bearing or structural outdoors. It also teaches basic lessons about wood selection and weather exposure that apply to bigger builds later. Treat it as practice rather than a one-off task, since the skills transfer directly to other outdoor woodworking projects.
- Use cedar or composite lumber to resist rot longer
- Line the bottom with landscape fabric to deter weeds
- Keep bed width under four feet so you can reach the center easily
- Avoid pressure-treated wood near edible plants unless rated food-safe
Designing and Constructing an Outdoor Deck
A deck is one of the clearest examples of a project that looks simple from the outside but carries real structural stakes. Footings, ledger board attachment, and joist spacing all affect whether the structure can safely support weight over time, and mistakes in any of these areas are not always visible until something fails. Because of this, most homeowners are better served hiring out a custom deck build rather than improvising from online tutorials.
Professional builders also understand local permit requirements, which many DIYers do not realize apply to decks over a certain height or size. A permitted, inspected deck protects you legally and financially if you ever sell the home. The upfront cost of professional construction is often outweighed by the long-term safety and resale value it provides.
- Check whether your municipality requires a permit before any digging begins
- Ask about footing depth relative to your region’s frost line
- Confirm that ledger board attachment meets current code, not older standards
- Request documentation of the inspection once construction is complete
Diagnosing Issues With Your Home’s Water Heater

A water heater that is making noise, leaking, or producing lukewarm water can sometimes be helped with simple homeowner checks like adjusting the thermostat or flushing sediment from the tank. These basic tasks are reasonable for someone comfortable with a wrench and following manufacturer instructions carefully. However, water heaters involve gas lines, high-voltage electrical connections, or pressurized tanks depending on the unit type, which raises the stakes considerably.
Anything beyond basic maintenance, such as a failing heating element, a cracked tank, or gas valve issues, calls for professional water heater repair rather than guesswork. A technician can also tell you whether a repair is worthwhile or if the unit is old enough that replacement makes more financial sense. Attempting electrical or gas work without proper training risks both safety and your home insurance coverage if something goes wrong later.
- Flush sediment from the tank annually to extend its lifespan
- Listen for popping or rumbling sounds, which often indicate sediment buildup
- Check the pressure relief valve periodically for proper function
- Call a professional immediately if you smell gas near the unit
Repairing and Replacing Roof Shingles and Flashing
Roof work sits firmly in the category of projects where the risk rarely justifies the savings. Height alone makes this dangerous for an inexperienced homeowner—falls from roofs send tens of thousands of people to the emergency room every year, and a steep pitch or wet shingles can turn a simple repair into a serious accident. Add in loose footing, overhead power lines, and the physical strain of hauling bundles of shingles up a ladder, and the math stops favoring the DIY route pretty quickly. Beyond the physical danger, the technical margin for error is slim. A small mistake in flashing placement around chimneys, vent pipes, or valleys can let water seep behind the shingles, and that kind of leak often goes unnoticed for months before it shows up as a stained ceiling or rotting decking. By the time the damage is visible indoors, repairs can run into the thousands of dollars, far outweighing whatever labor cost was saved upfront. Reputable roofing companies carry insurance and safety equipment that make the job far safer for them than it would be for an untrained person on a ladder. They also bring harnesses, roof jacks, and fall-arrest systems most homeowners don’t own and wouldn’t know how to rig correctly. On top of that, professional crews understand local building codes and manufacturer installation specs, which matters if you ever need to file a warranty claim or an insurance claim down the line.
Timely roof repair also depends on correctly identifying the source of a leak, which is harder than it sounds since water often travels along rafters or sheathing before showing up on a ceiling far from the actual entry point. A stain in a bedroom corner might trace back to a cracked vent boot ten feet away, making amateur guesswork a recipe for repeated, ineffective patch jobs. Trained crews use moisture meters, thermal imaging, and years of experience with common failure points like valleys, vent boots, and chimney flashing to pinpoint issues quickly. They also know which materials belong where: galvanized steel or aluminum flashing for most climates, copper for high-end or coastal applications where corrosion resistance matters, and the correct underlayment overlap to keep water moving outward rather than seeping beneath shingles. Climbing onto a steep or wet roof also carries real fall risk, and improperly sealed repairs can trap moisture that rots decking from the inside out, something a homeowner may not notice until it’s structural. Catching small problems early through a professional inspection, typically $150 to $400 depending on roof size and accessibility, is almost always cheaper than waiting for a full ceiling collapse or mold remediation, which can easily run into the thousands.
- Schedule a roof inspection after major storms (hail, high wind, heavy snow) even if you see no obvious damage from the ground
- Watch for granules collecting in gutters or downspouts, a sign shingles are wearing thin and losing their protective coating
- Check attic spaces for daylight peeking through the roof deck or damp, musty insulation after rain
- Address small leaks quickly, ideally within days, before water spreads to insulation, framing, or drywall
- Leave steep slopes, multi-story roofs, and flashing work around chimneys or skylights to licensed professionals
- Ask for a written estimate that separates labor and material costs, and lists the shingle brand and underlayment type
- Confirm the contractor carries liability insurance and workers’ comp, and ask for proof before work begins
- Get at least two or three quotes if the repair involves more than a few shingles, since pricing can vary widely
Adding a Screened Enclosure to an Existing Patio

Enclosing a patio or porch with screening is appealing for homeowners who want to enjoy outdoor space without dealing with bugs or harsh sun, but it is more involved than it looks. The framing needs to tie into the existing roofline correctly, and screen tension has to be even across each panel or it will sag and tear within a season. Because the roofline connection is often part of the job, some contractors even bring in roofers to confirm the tie-in won’t cause leaks down the road. Because of these structural and aesthetic demands, screened porch enclosures are typically best handled by a contractor familiar with your home’s specific framing.
A professional can also help you choose between traditional screening and newer solar or retractable options that affect both cost and functionality. Getting the slope and drainage right during installation prevents water pooling on the enclosure’s roof during heavy rain. This is a project where paying for expertise upfront usually prevents expensive patch-up work later.
- Compare traditional fiberglass screen to heavier-duty pet-resistant mesh
- Ask about drainage slope for any roof panel added over the enclosure
- Consider retractable screens if you want flexibility between open and closed air
- Confirm the frame material is rated for your climate’s humidity and wind
Planning a Larger Renovation or New Outdoor Structure
Some outdoor upgrades go beyond a single feature and involve reshaping how your whole property functions, such as adding a detached structure, expanding a living space outward, or coordinating multiple contractors on one timeline. These larger projects benefit from the oversight that experienced home builders bring, since they can sequence work like grading, framing, and utilities in the correct order. Attempting to manage several specialized trades yourself often leads to scheduling conflicts and inconsistent quality between the different pieces of the project.
A good builder also understands how to secure permits for complex projects and can anticipate inspection requirements before they become delays. They can translate a vague idea into actual drawings and a realistic budget, which is difficult for most homeowners to do accurately on their own. For anything involving multiple systems working together, this coordination is often the most valuable part of what you are paying for.
- Ask for references from recent projects similar in scope to yours
- Get a detailed written timeline before signing any contract
- Clarify who pulls permits and who handles inspections
- Confirm how change orders and unexpected costs will be communicated
The common thread across all these projects is honesty about your own skill level, available time, and tolerance for risk. Cosmetic and low-stakes tasks like painting, planting, and pressure washing are excellent ways to build confidence and save money. Structural, electrical, and large-scale projects are where professional expertise protects your safety, your budget, and your home’s long-term value. Take an honest inventory of your upcoming projects, sort them using the categories above, and you will know exactly where to pick up a tool and where to pick up the phone instead.

