

Picture this. It’s a cold winter morning, your heating system has been running all night, and you still feel a chilly breeze near the window as you drink your coffee. That tiny draft might seem harmless, but it’s quietly draining your wallet. Those invisible cracks around windows and door frames are like leaving a window cracked open year-round, letting your warm air escape and the cold air sneak in.
The good news is you don’t need to be a contractor or spend a fortune to fix this. With a tube of caulk, some weatherstripping, and an afternoon of free time, almost anyone can tackle this job. Even if you’ve never held a caulk gun in your life, the process is simpler than you might think.
This beginner-friendly walkthrough will take you from zero knowledge to a sealed, snug home. We’ll cover why gaps form, how to find them, what supplies you need, and exactly how to apply everything step by step. By the end, you’ll feel confident enough to grab your tools and get started this weekend.
What Causes Those Annoying Drafts in the First Place?
Houses are not static objects. They expand and contract with temperature changes, settle slightly over the years, and go through countless cycles of hot summers and freezing winters. Over time, the materials around your windows and doors shrink, crack, or pull away from the frame. That creates tiny gaps you can barely see but can definitely feel.
Doors have their own set of issues. The weatherstripping along the edges wears down from being opened and closed thousands of times. Thresholds get stepped on, scraped, and worn flat. Hinges loosen and shift the door’s alignment just enough to leave a visible line of daylight along one side. All of these small problems add up to a surprisingly leaky home.
The combined impact is bigger than most homeowners realize. According to the Energy Information Administration, up to a third of a home’s heat loss happens through leaky windows and doors. That’s a huge chunk of your heating bill literally floating out into the yard. Sealing those paths is one of the highest-impact home fixes you can do without hiring a pro.
How to Find the Leaks Before You Fix Them
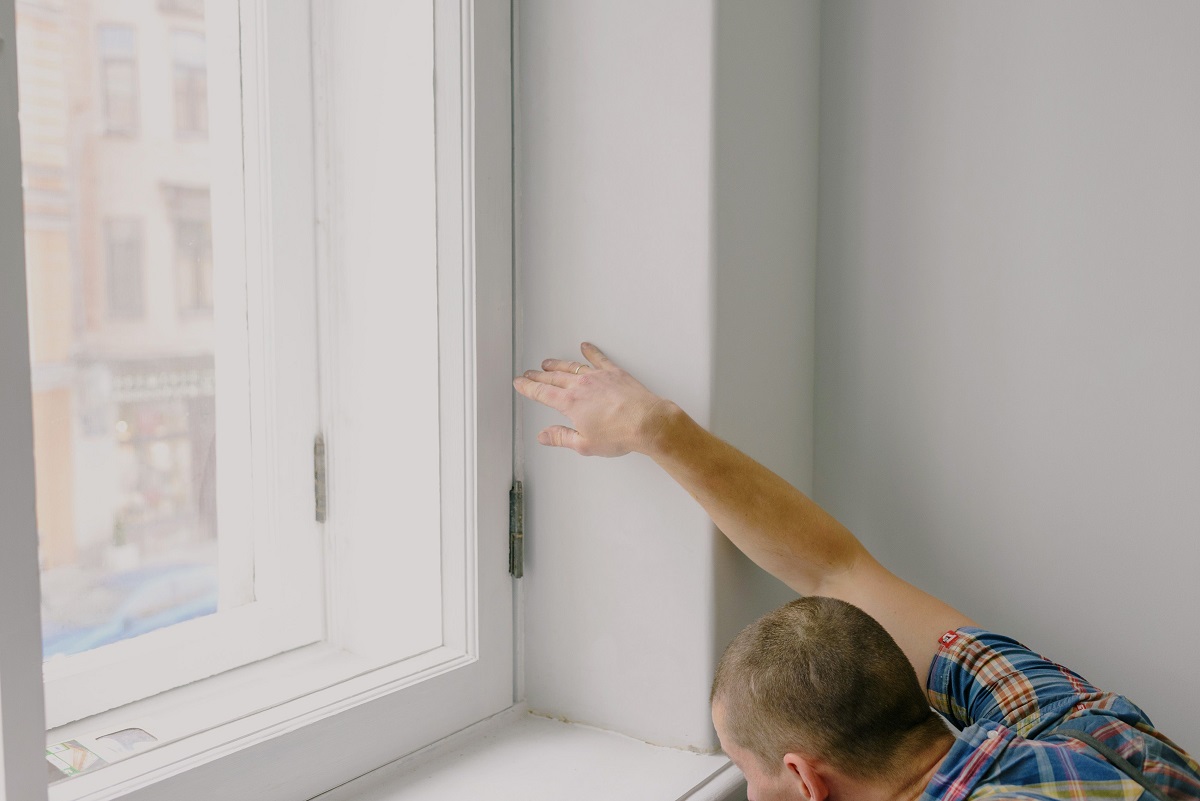
Before you buy a single supply, you need to know where the problems are. Walking around your house on a windy day is the easiest first step. Hold the back of your hand near every window edge, door frame, keyhole, and mail slot. If the skin feels cooler in one spot, you’ve found a leak.
For a more precise check, try the candle or incense test. Light one and slowly move it along the edges of the frame with your heating or cooling off. If the smoke bends sideways or the flame flickers, air is moving through a gap. Do this during a windy day for best results, and always keep the flame away from curtains and other flammable items.
Here are a few common trouble spots to inspect carefully:
- The seam where the window frame meets the wall
- Corners of the sash where the moving part meets the fixed frame
- The bottom sweep of exterior doors
- Around electrical outlets and switches on exterior walls
- The gap between the door frame and the surrounding wall trim
- Keyholes, mail slots, and any pet door edges
Taking detailed notes during this walkthrough will save you trips to the hardware store. A simple sketch of each room with marks where you felt drafts is enough. If you want to get more systematic about checking your home’s overall resistance to weather, going through a Wind Mitigation Inspection Checklist: What You Can Assess Yourself gives you a broader framework for finding weak points beyond just drafts.
Choosing the Right Supplies for the Job
Walking into the sealant aisle at the hardware store can feel overwhelming. There are dozens of tubes, strips, and foams, each promising to be the best. The trick is matching the product to the specific gap you’re trying to fill. Not every leak needs the same solution.
Caulk is for stationary gaps, like the seam between a window frame and the surrounding wall. Weatherstripping is for moving parts, like the edges of a door or a window sash that opens. Foam tape and door sweeps handle larger gaps and bottom-of-door issues. Understanding this difference up front saves you from buying the wrong thing.
A Beginner’s Supply Checklist
Here’s what a first-timer should pick up for a typical sealing session:
- A caulk gun and one or two tubes of silicone or acrylic latex caulk
- Adhesive-backed foam weatherstripping for door and window edges
- A door sweep for exterior doors
- A putty knife or old butter knife for scraping off old caulk
- A damp rag and a bucket for cleanup
- Painter’s tape for creating clean edges
Spend a few extra dollars on quality caulk. Cheaper tubes often shrink, crack, or peel within a year, forcing you to redo the whole job. A good silicone caulk can last a decade or more with no issues.
Working Through Your First Weekend Project
Now for the fun part, the actual work. Start with the window that gave off the biggest draft during your inspection. Clean the surface first with a damp cloth and let it dry completely. Caulk and weatherstripping will not stick to dusty, greasy, or wet surfaces, so this prep step matters more than most beginners realize.
For caulking, cut the tube’s nozzle at a 45-degree angle, making the opening about the width of your gap. Load it into the gun, squeeze the trigger slowly, and pull the gun along the seam at a steady pace. Go slow. A smooth, continuous bead looks professional and seals better than a thick, bumpy one. After laying the bead, wet your finger and gently smooth it out for a clean finish.
Applying Weatherstripping Like a Pro
Weatherstripping is even easier. Measure the length you need, cut it with scissors, peel the adhesive backing, and press it firmly into place along the door edge or window sash. Make sure the door still closes properly after you install it. If it’s too thick, use a thinner strip or trim some away.
Taking on small home improvement tasks like this is a gateway into the wider world of DIY Projects. Once you successfully seal one window, you’ll find yourself looking around the house wondering what else you can tackle. That confidence builds quickly, and each small win saves real money.
How Much Can You Actually Save by Doing This?
The financial return on sealing gaps is one of the best in all of home improvement. You’re talking about spending maybe fifty dollars on supplies and recovering that cost within a single season on many homes. The payoff only grows the longer you stay in the house.
According to the U.S. Department of Energy, sealing air leaks can cut heating and cooling bills by 10 to 20 percent on average. That’s not pocket change. For a household spending two thousand dollars a year on energy, that’s potentially four hundred dollars back in your pocket every year. The EPA’s ENERGY STAR program also reports that sealing cracks and adding insulation can save roughly 11 percent on total energy costs, which supports the same general range.
Beyond the money, there are comfort benefits that are hard to put a number on:
- Fewer cold spots near windows in winter
- Less dust and pollen sneaking in
- Reduced outside noise, especially traffic and barking dogs
- Fewer insects finding their way inside
- A quieter HVAC system because it cycles less often
- Less wear on your heating and cooling equipment
All of this from an afternoon of work. It’s hard to find another home upgrade with that kind of return.
Mistakes First-Timers Make and How to Dodge Them
Even with simple projects, beginners tend to make the same handful of errors. The most common is skipping the cleaning step. Fresh caulk applied over old, flaking caulk will peel off within weeks. Always scrape away the old material with a putty knife, wipe the surface down, and let it dry fully before starting fresh.
Another frequent slip-up is using the wrong caulk for the location. Interior-only caulk will crack and fail outdoors within a season. Exterior-grade silicone or a hybrid polymer caulk is what you want for anything facing the weather. Read the label before you buy, and when in doubt, ask someone at the store which product handles temperature swings best in your climate.
Rushing the bead is another classic mistake. People squeeze the trigger hard, drag the gun fast, and end up with a lumpy mess that peels right off. Slow, steady pressure gives you a clean line every time. If you make a mess, don’t panic. Wipe it off with a damp rag before it sets and start that section over.
Here are a few more pitfalls worth watching for:
- Applying weatherstripping to a dirty surface, so the adhesive fails within days
- Buying weatherstripping that is too thick, which prevents the door from closing properly
- Forgetting to seal the top of the door, which is often the worst leak
- Caulking over a wet surface right after rain
- Ignoring the gaps behind window trim where the biggest leaks often hide
Keeping Your Seals in Good Shape Year After Year
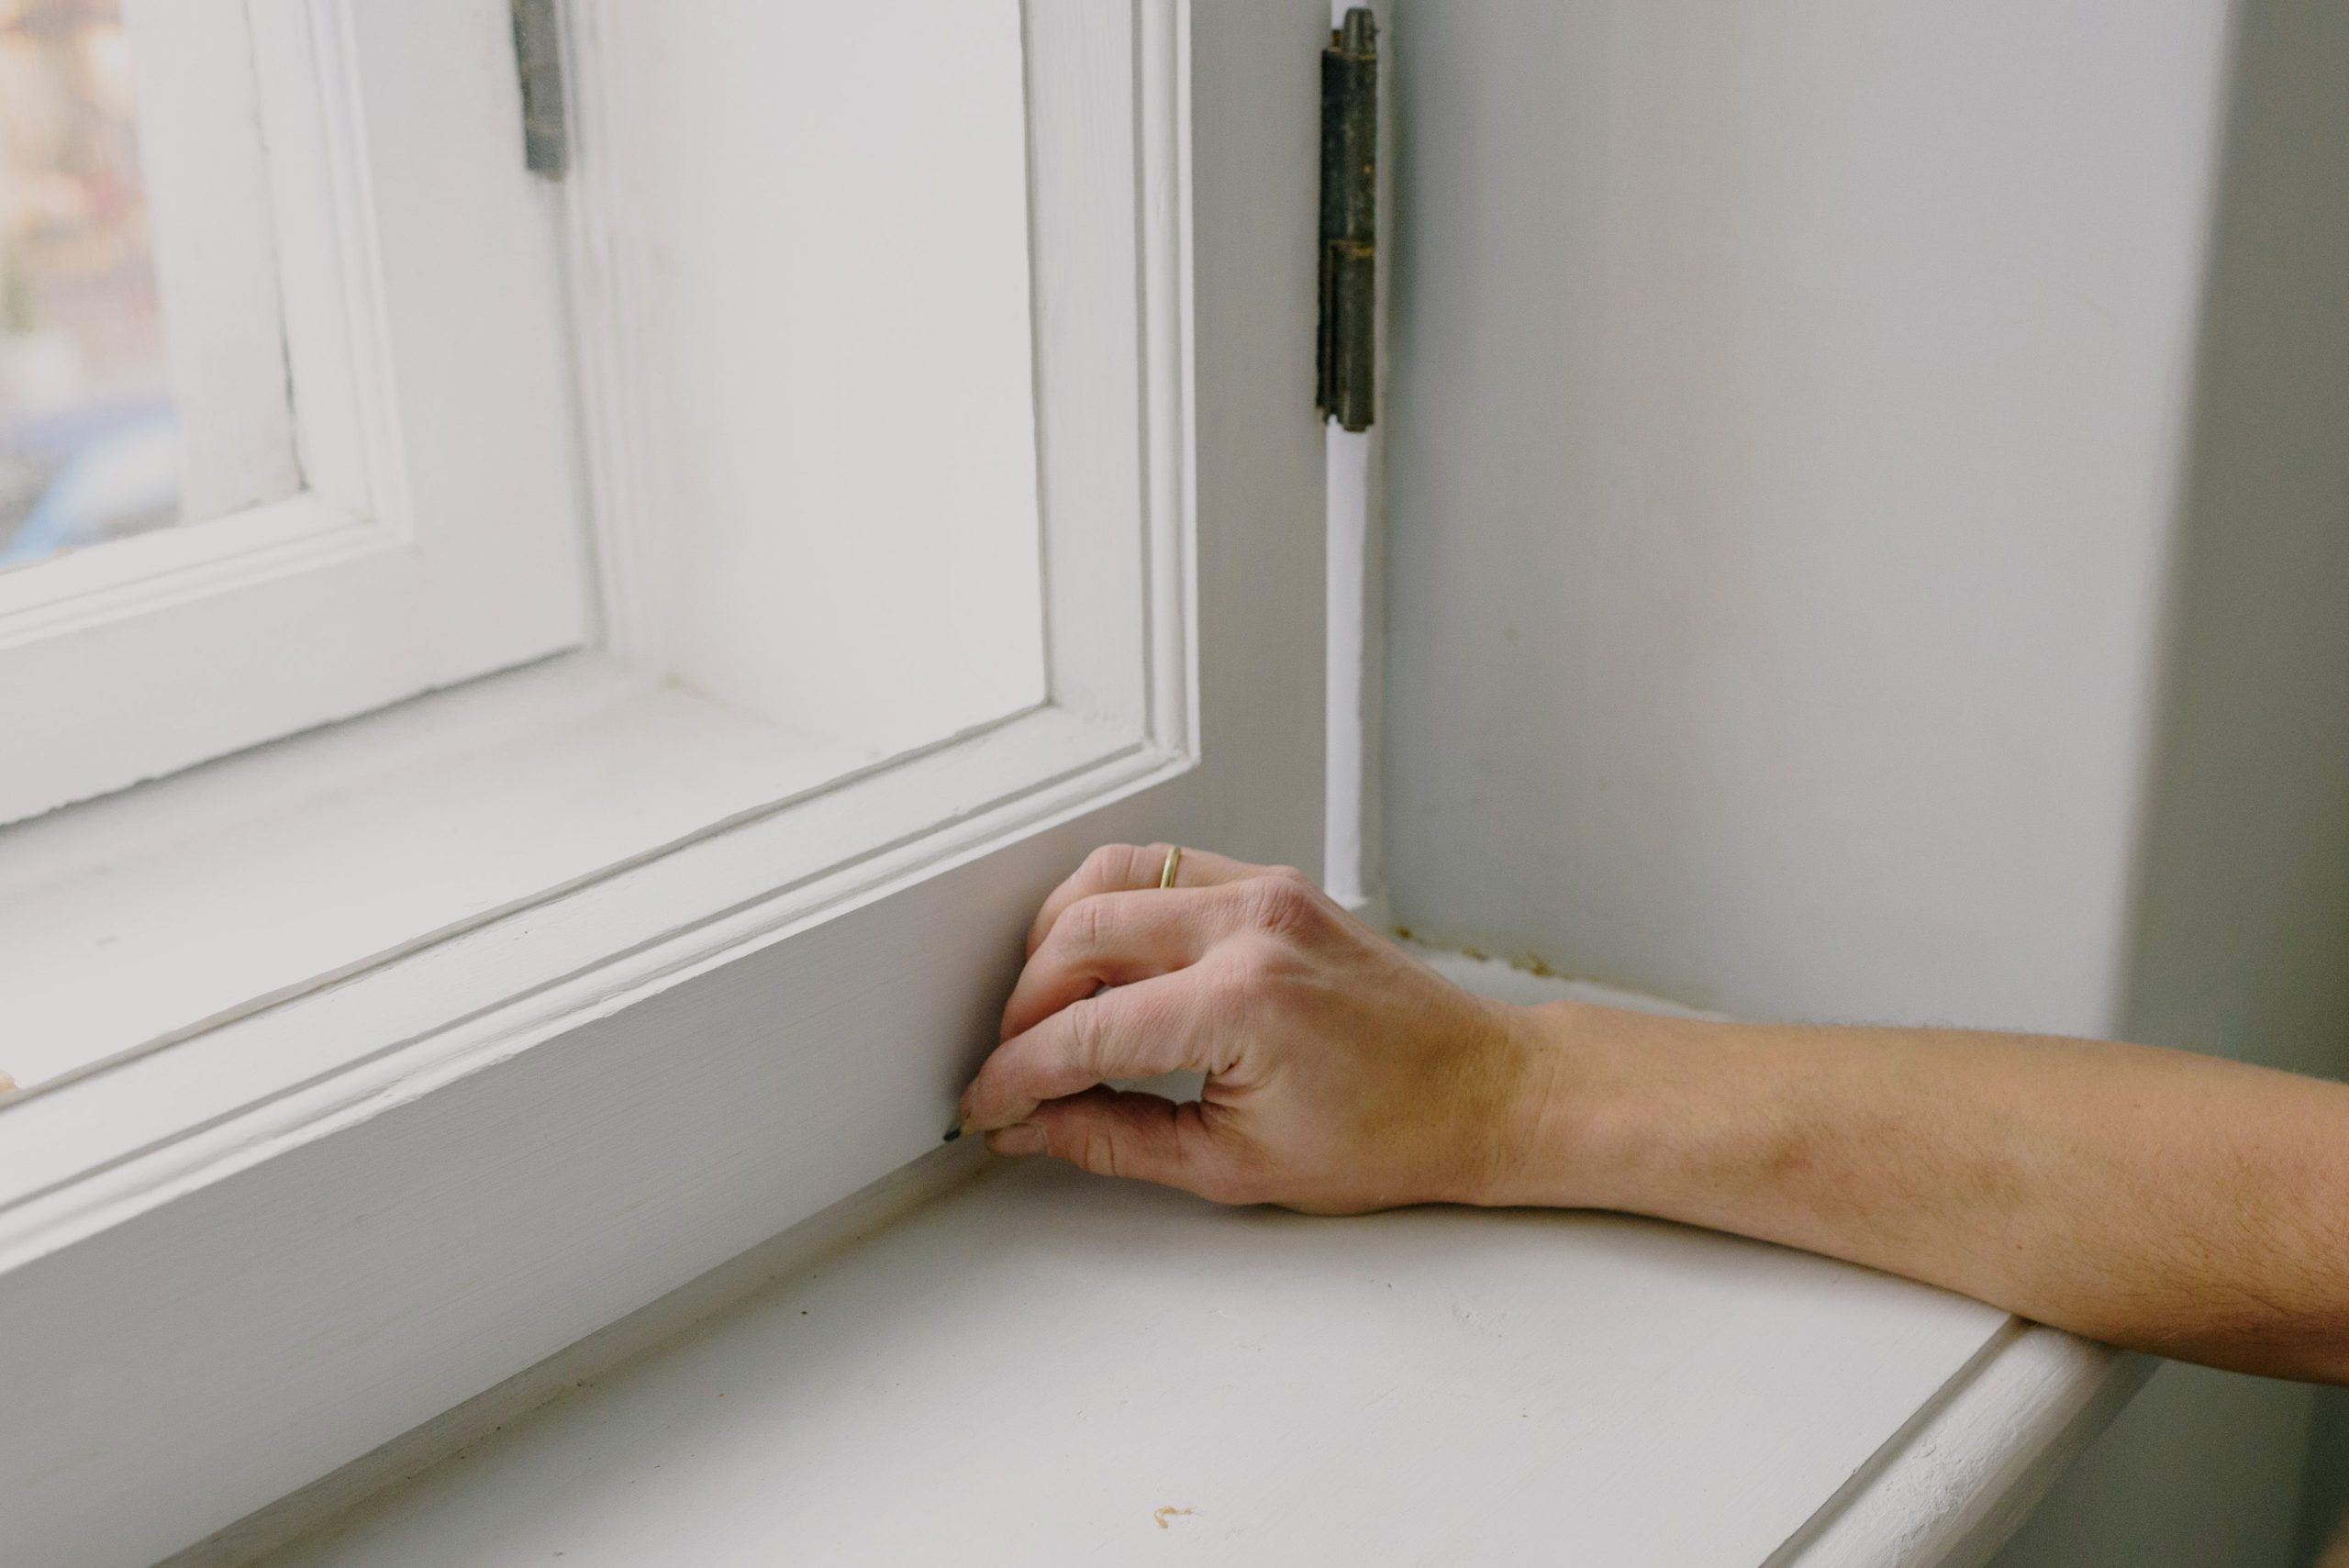
Sealing is not a one-and-done job. Caulk shrinks slowly over time, weatherstripping compresses, and door sweeps wear down from daily contact with the threshold. Building a simple yearly check into your routine keeps everything working without any big surprises.
A good rhythm is to inspect your seals every fall before the heating season kicks in and again in spring before the air conditioning takes over. Walk the same route you did during your first inspection, feel for drafts, and look for any visible cracks or gaps in the caulk lines. Touch-ups take minutes, while ignoring them for years can mean redoing the whole job.
Signs It’s Time for a Refresh
Watch for these telltale clues that your seals need attention:
- Caulk that looks chalky, cracked, or has pulled away from the frame
- Weatherstripping that feels flattened or no longer springs back
- Visible daylight around closed doors
- A door sweep that drags unevenly or has worn bristles
- Condensation forming between the frame and the wall in cold weather
- Sudden spikes in your energy bill without a weather explanation
Pairing this seasonal check with other outdoor-facing tasks around the home makes it easier to remember. When you inspect your roof, gutters, and siding, add your windows and doors to the same walkthrough. If you want a wider sense of where your home is vulnerable to storms and wind, assessing your home’s weather resistance yourself gives you a broader picture that complements the smaller sealing work.
When to Stop and Call in a Professional
Not every gap can be fixed with caulk and a strip of foam. Sometimes the frame itself is rotted, the window has lost its seal between panes, or the door has shifted far enough off its hinges that no amount of weatherstripping will close it properly. Knowing when to step back is part of being a smart homeowner.
If you see soft, spongy wood around a window frame, that’s rot, and it needs cutting out and replacing before any sealing will hold. Fogged glass between double panes means the window’s internal seal has failed, which is a replacement job. Doors that scrape the floor or stick in the frame usually need to be rehung, and that’s where a carpenter earns their keep.
There’s no shame in handing off a job that’s over your head. The money you save on the sealing work you do yourself can help cover the bigger repairs when they come up. The goal is a home that stays comfortable and efficient, not a trophy for doing every single thing solo.
Wrapping It Up
Sealing the gaps around your windows and doors is one of those rare home improvements where almost everything works in your favor. The supplies are cheap, the skills are simple, the results show up on your next energy bill, and the comfort improvements are noticeable the moment you finish. Few projects give back this much for so little effort.
If you’ve been putting this off because it felt too technical or you weren’t sure where to start, now you have a clear path. Walk your home, find the leaks, buy the right supplies, and spend an afternoon making your house a little tighter. The first window is always the slowest. By the third or fourth, you’ll be moving quickly and wondering why you waited so long.
Take the weekend, grab a caulk gun, and get started. Your future self, sitting warm and draft-free by the window next winter, will thank you.

