
Key Takeaways
- Homeowners can perform a visual pre-check of their property to identify obvious vulnerabilities before hiring a certified inspector
- The age, shape, and pitch of your roof directly affect how it performs in high winds and what discounts you may qualify for
- Secondary water barriers, roof-to-wall connections, and opening protections are among the highest-value features insurers look at
- Documenting what you find with photos, measurements, and notes saves time and money during the official inspection
- Some features like hurricane straps or clips are hidden in the attic and require careful observation rather than guesswork
- A self-assessment is not a replacement for a certified report, but it helps you prioritize upgrades and avoid surprises
- Simple fixes like reinforcing garage doors or adding impact-rated shutters can meaningfully reduce both risk and insurance costs
If you live in a hurricane-prone region, you already know that the weather doesn’t wait for anyone. What catches most homeowners off guard, though, isn’t the storm itself. It’s the realization, after the fact, that their home was never as prepared as they assumed. A structured walk-through of your own property is one of the smartest, cheapest things you can do before hurricane season.
Think of it as a dress rehearsal. You’re not trying to replace a licensed inspector. You’re trying to understand what they’ll be looking at, which features your home already has, and which ones might need attention. That knowledge gives you leverage, both with contractors and with your insurance company.
There’s also a financial angle here. In many coastal states, hardened features translate directly into premium discounts. Knowing what you already qualify for, or what small upgrade could unlock a bigger discount, turns a boring home inspection into one of the highest-return activities you can do as a homeowner.
Start With the Roof Shape and Age
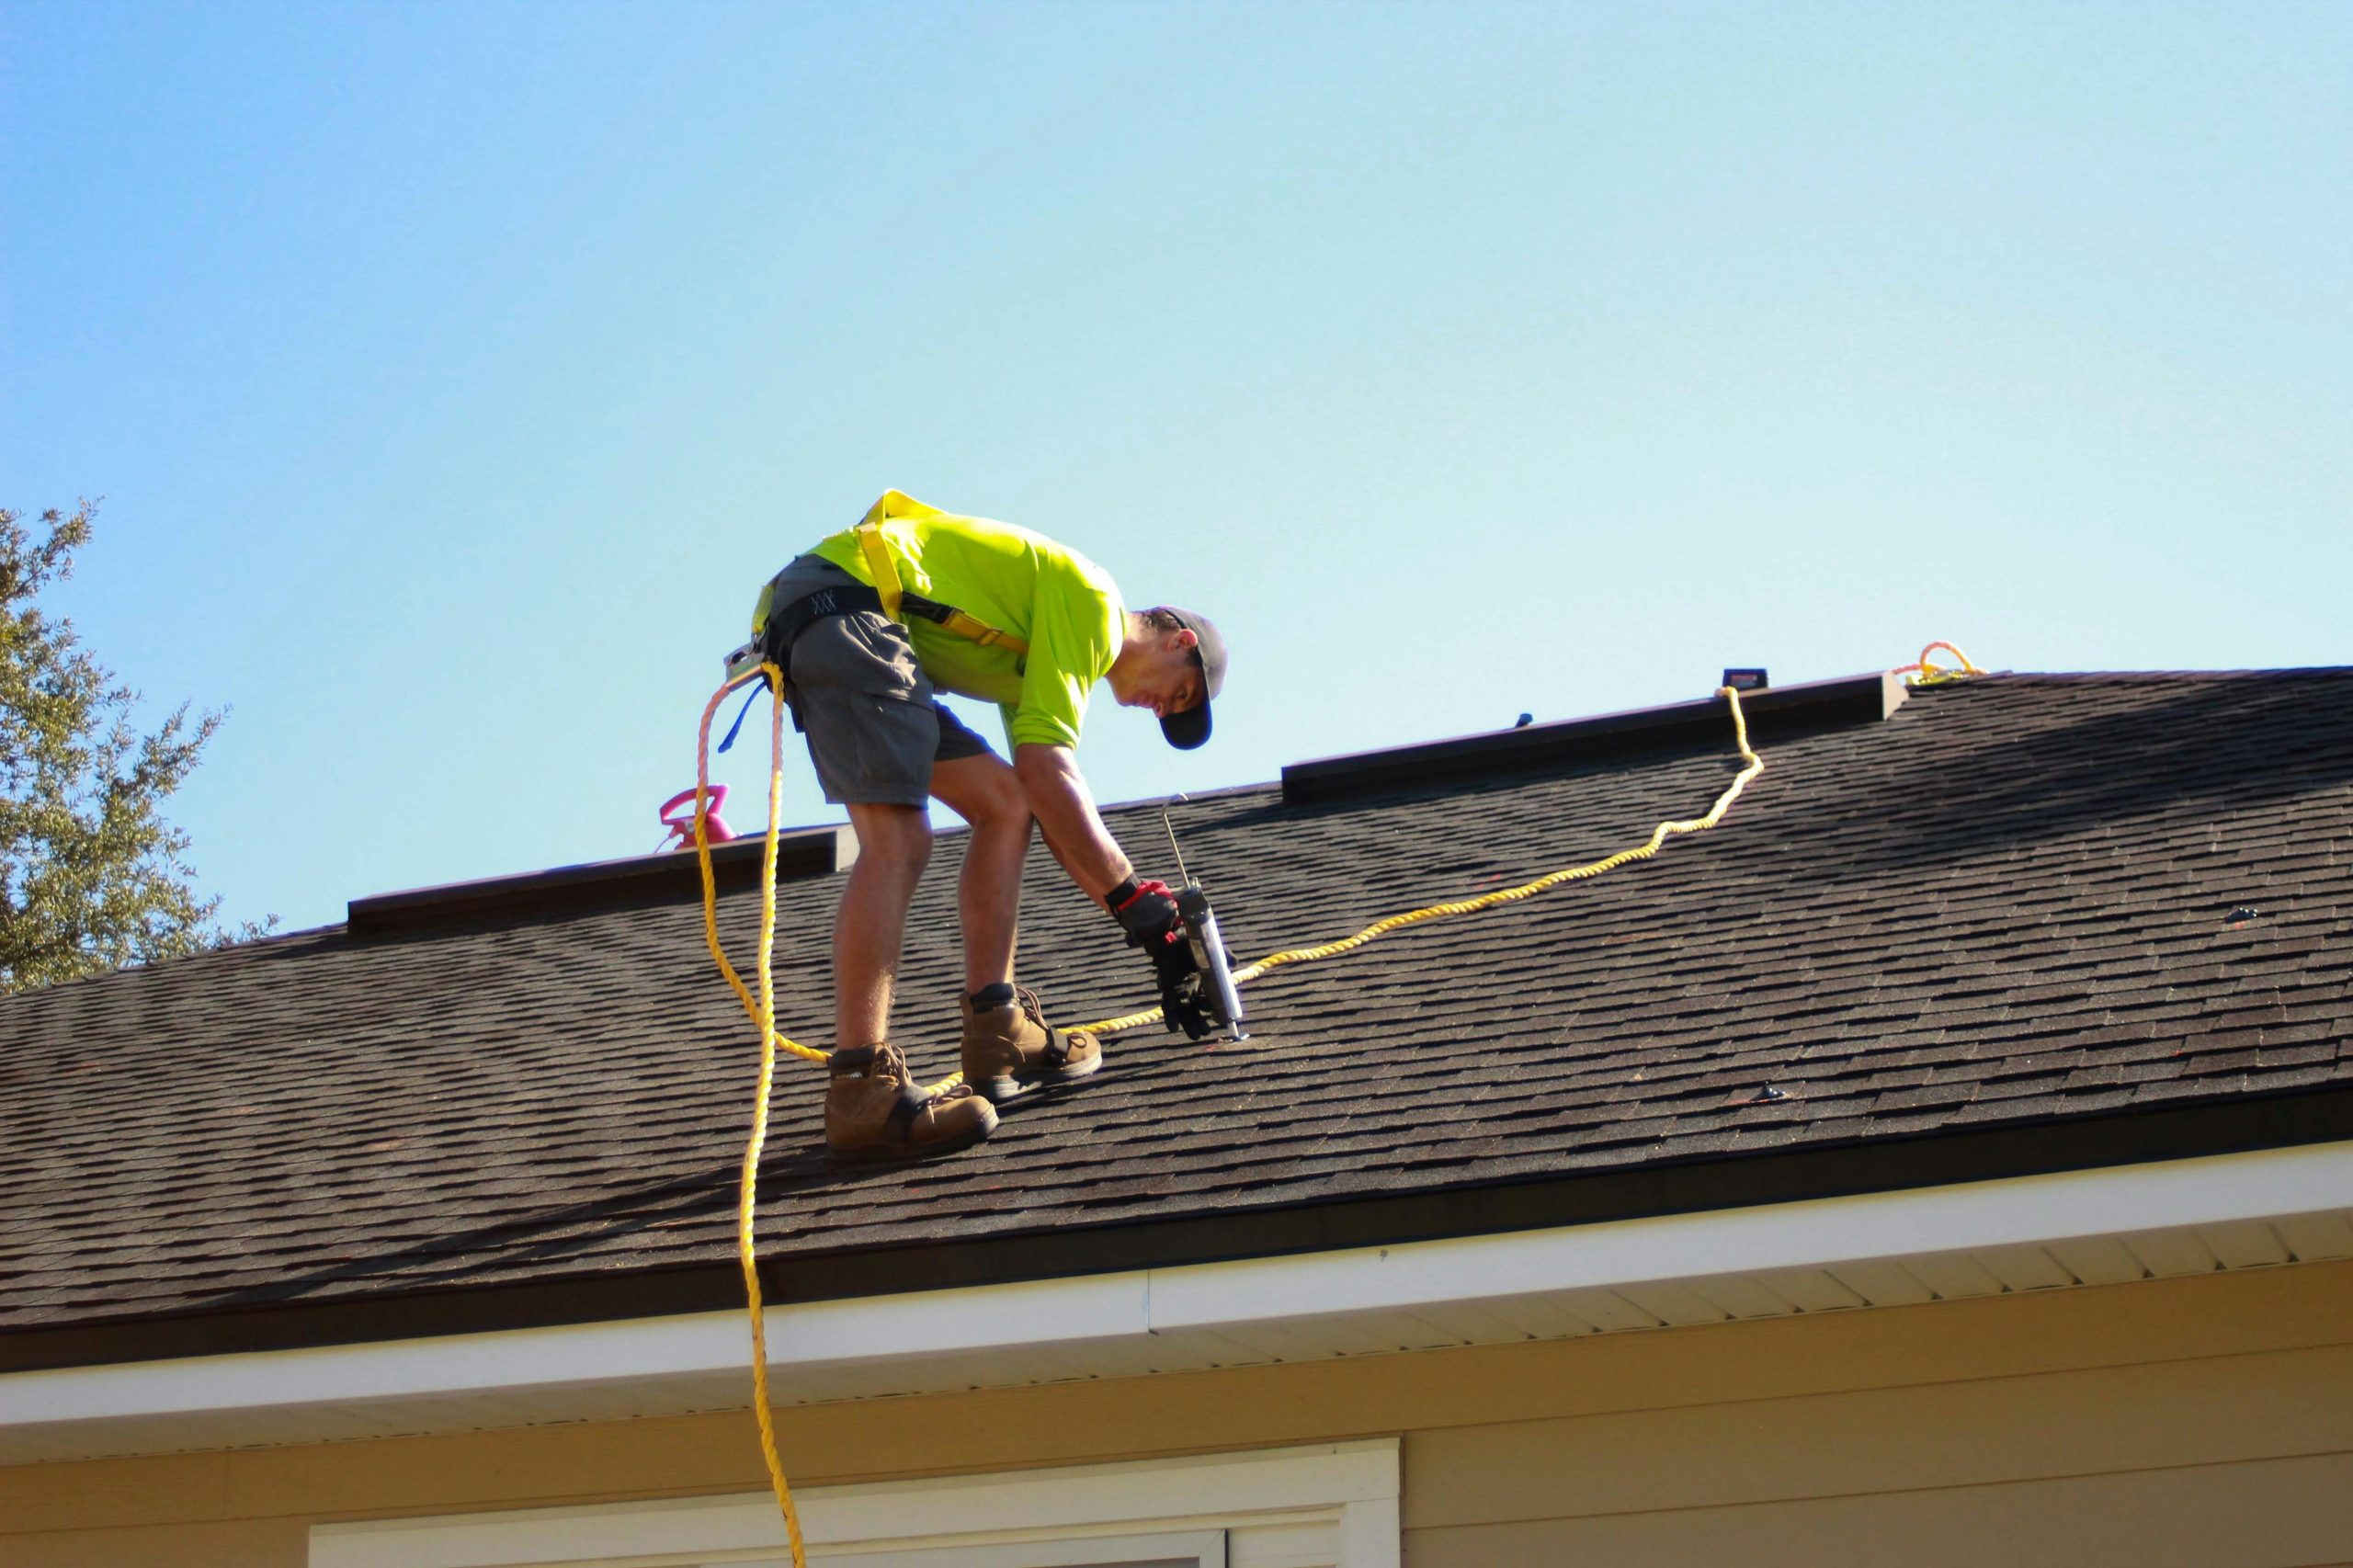
The single most important component in any windstorm scenario is the roof. Before you climb a ladder or peek into the attic, stand across the street and look at the overall shape of your roof. Is it a hip roof, where all four sides slope downward toward the walls? Or is it a gable roof, with those classic triangular vertical ends? Hip roofs perform dramatically better in high winds because they present less surface area for the wind to grab.
Next, think about the roof’s age. If you don’t remember the last re-roof, pull your closing documents or any permits on file with your county. Most jurisdictions keep permit records searchable online. Anything over 15 years old is worth flagging, both because of material degradation and because older roofs often predate stricter building codes.
Finally, assess the pitch. According to Wyben Roofing, roofs pitched at 30 degrees or steeper can cut wind uplift forces by as much as half compared to flatter designs. If your roof looks nearly flat, that’s a vulnerability worth noting even if everything else looks solid.
What to Photograph From the Ground
Before you move on, take clear photos from several angles. You’ll want these for your records and for any conversations with contractors or your insurer. Focus on:
- Each side of the roof showing the full slope
- The ridgeline and any protrusions like chimneys or skylights
- The eaves and overhangs, especially any sagging or stained sections
- Visible missing, curled, or lifted shingles
- Any exposed underlayment or bare patches
Inspecting the Roof Covering Up Close
If you’re comfortable on a ladder and the roof isn’t too steep, a closer look at the covering itself is useful. Walk the perimeter from a ladder rather than walking on the roof, which can damage shingles and void warranties. Look for shingles that have lost their granules, lifted edges, or exposed nail heads.
Pay special attention to the field of the roof near the ridges and hips. These areas see the highest wind pressures during a storm. If you spot three-tab shingles rather than architectural or impact-rated ones, that’s a meaningful gap in storm readiness. Impact-rated products are one of the most straightforward upgrades available. This Old House notes that impact-resistant roofing systems can hold up against wind speeds up to 130 mph, which covers most Category 3 and even some Category 4 conditions.
Also look at the flashing around chimneys, vents, and anywhere two roof planes meet. Rust, separation, or loose sealant are warning signs. Flashing failures are a common entry point for wind-driven rain even when the shingles themselves hold.
Checking the Attic for Hidden Clues
A lot of what inspectors verify isn’t visible from outside. Grab a flashlight and head into the attic on a cool morning. The first thing to identify is how the roof deck is attached. Look for the nails poking through the underside of the plywood or OSB. Count how many you see in a square foot, and note whether they’re the thin shiny nails of a staple-era build or the thicker ring-shank nails modern codes require.
Next, find where the rafters or trusses meet the top of the exterior wall. You’re looking for metal connectors. Simple toe-nailed connections are the weakest. Clips offer a modest improvement. Single wraps and double wraps, which are hurricane straps that loop over the truss and nail into the wall framing, provide the strongest connection and the biggest insurance savings.
Documenting the Connectors You Find
Take several close-up photos of these connections in different parts of the attic. It’s common for a home to have mixed connectors, especially if additions were done over time. Note the spots where connections look weak or missing. A sample observation checklist looks like this:
- Type of metal connector at each sampled truss (clip, single wrap, double wrap, or none)
- Number of nails visible in each connector
- Whether connectors are rusted or pulling away from the wood
- Deck nail spacing along the rafters
- Any daylight visible between the roof deck and the walls
A Homeowner’s Wind Mitigation Inspection Checklist for the Exterior
Once the roof and attic are covered, turn your attention to the walls, openings, and anything that could become a projectile in high winds. This part of the walk-through is where most homeowners discover easy wins. A proper wind mitigation inspection checklist for a do-it-yourself pre-assessment should cover doors, windows, garage doors, soffits, and the gable ends if you have any.
Start with the front and back doors. Are they solid-core or hollow? Do they have at least three hinges and a deadbolt that engages deeply into the frame? Impact-rated entry doors are increasingly common in newer construction, but older homes often have standard builder-grade doors that will fail well before the walls do.
Then work your way around every window. Note the frame material, whether the glass is single or double pane, and whether there’s any impact rating sticker in a corner of the pane. If you have storm shutters or panels in storage, this is a good moment to inventory them and make sure the mounting hardware is still on the building.
Garage Doors, Soffits, and the Weak Points Nobody Talks About
The garage door is often the single largest opening on a home and the most overlooked. When a garage door blows in during a storm, the sudden pressurization inside the house can lift the roof right off. Stand inside your garage with the door closed and look at the back of the door itself. Is there horizontal bracing across the panels? Are the tracks bolted securely into the framing, not just the drywall?
Soffits, the underside of your roof overhangs, are another quiet vulnerability. Push gently on them with a broom handle. If they flex a lot or feel loose, wind-driven rain can enter the attic and soak insulation, drywall, and ceiling finishes even when the roof itself holds. This kind of damage is expensive and often not caught until mold appears months later. For a broader look at how all these elements work together, this guide on storm-resistant home building walks through the bigger picture of design choices that complement what you’re inspecting here.
Gable ends deserve their own look if you have them. Stand outside and check whether the gable is braced from the inside, which you can usually confirm by looking at the attic framing where the gable meets the roof. Unbraced gables over four feet tall are prone to collapse inward during sustained winds.
Opening Protections and Impact Ratings
Protecting openings is one of the highest-impact upgrades a homeowner can make, and it’s also one of the easiest to document yourself. Walk around the entire exterior and count every opening: windows, doors, skylights, and any glass block or decorative openings. For each one, note whether it has permanent impact-rated glazing, approved shutters, or no protection at all.
Impact-rated products carry a label etched directly into the glass or stamped onto the frame. If you can find that marking, photograph it. Insurers typically require protection on every opening to grant the full discount, so even one unprotected window can disqualify you from a meaningful premium reduction. A single uncovered skylight is a common oversight.
Temporary protection counts too, as long as it’s approved and the mounting hardware is already installed. Plywood cut to fit, labeled, and stored with pre-drilled anchor points on the house can qualify under some programs. Loose plywood in the garage with no mounting plan does not.
Rating What You Have on a Simple Scale
To keep your notes useful later, rate each opening on a simple three-level scale:
- Fully protected: impact-rated glass or installed approved shutters
- Partially protected: pre-cut panels with mounted hardware, ready to deploy
- Unprotected: standard glass with no deployable protection
That single column in a spreadsheet tells you exactly where your money will go furthest.
The Secondary Water Barrier Question
One of the trickier items to self-verify is the secondary water barrier, often called SWR. This is a sealed layer beneath the roof covering that keeps water out even if shingles blow off. You usually can’t see it from the attic because it sits above the deck, but you can sometimes identify it from documentation.
Check your roof permit paperwork or any receipts from your last re-roof. Look for terms like peel-and-stick underlayment, self-adhering membrane, or taped deck seams. If your roof was installed after your state adopted stricter codes and the permit mentions these materials, you likely have an SWR. If the paperwork just references standard felt or synthetic underlayment without sealed seams, you probably don’t.
This matters because a wind-resistant roof with a proper secondary water barrier can prevent tens of thousands of dollars in interior damage during a storm that strips shingles. It’s also one of the single largest line-item discounts on most insurance mitigation forms.
Walls, Foundations, and the Load Path
Everything you’ve inspected so far is part of what engineers call the load path, the continuous chain that transfers wind forces from the roof down through the walls and into the foundation. A break anywhere in that chain is a failure point. While you can’t x-ray your walls, you can look for clues.
Check where the walls meet the foundation for any visible anchor bolts in unfinished areas like a garage or utility room. Look at where interior walls meet exterior walls for signs of separation, cracks, or settling. In older homes, examine any additions carefully, since the junction between old and new construction is often the weakest spot in the whole structure.
Masonry homes have their own considerations. Look for stair-step cracks in block or brick walls, which indicate movement, and check that any reinforcement bars visible in unfinished areas aren’t corroded.
Building Your Pre-Inspection Report
After you’ve worked through every section, compile your notes into a simple document you can hand to the certified inspector or your insurance agent. It doesn’t need to be fancy. A few pages with labeled photos and a summary table is more than most homeowners ever provide, and it will speed up the professional inspection considerably.
Organize your report by category:
- Roof shape, age, pitch, and covering condition
- Attic observations including deck attachment and truss connectors
- Opening inventory with protection ratings
- Garage door and soffit condition
- Documentation of any underlayment or SWR from permit records
- Photos of gable bracing and wall-to-foundation connections where visible
Keep a digital copy and a printed copy. Insurance claims and mitigation credits sometimes take months to process, and having your own baseline record is invaluable if anything is ever disputed.
Prioritizing What to Fix First

Not every weakness you find needs to be addressed immediately. The goal of the self-assessment is to help you sequence upgrades by cost and impact. Generally, the order that gives homeowners the best return looks something like this:
- Reinforce or replace the garage door if it’s unbraced
- Add opening protection, starting with the largest windows and sliding doors
- Upgrade entry doors to impact-rated models with reinforced frames
- Retrofit hurricane straps if your attic shows only toe-nailed connections
- Replace the roof covering with impact-rated materials when the current one is near end of life
- Add a secondary water barrier during any re-roof
Some of these are weekend projects. Others require permits and contractors. But each one, documented properly, can lower your premium and reduce the chance of a catastrophic loss.
Final Thoughts
Walking your own property with a flashlight, a notepad, and a phone camera is one of those rare homeowner tasks where the time investment pays back many times over. You end up with a clearer picture of your home’s actual readiness, a list of upgrades sorted by priority, and a documentation package that makes every subsequent conversation, whether with a contractor, an inspector, or an insurance adjuster, faster and more productive.
The storm itself is always going to be unpredictable. What you can control is how much of your home’s performance you already understand before anyone shows up to evaluate it. A thorough self-assessment turns you from a passive homeowner into an informed one, and informed homeowners consistently end up with safer houses and lower bills.
Treat this as an annual habit rather than a one-time exercise. Materials degrade, codes evolve, and small issues like loose soffits or rusted straps have a way of compounding quietly. The more often you look, the fewer surprises you’ll face when the next named storm appears on the forecast.

